Lift installation guide
Your garage.
Ready for a lift.
More room to work. Easier access under your vehicle. Extra parking space. A lift can make your garage a lot more useful—and getting ready starts with space, concrete and power.
This guide covers the basics before you buy. Follow your model’s manual for installation and have an electrician handle the wiring.
Plan your setup ↓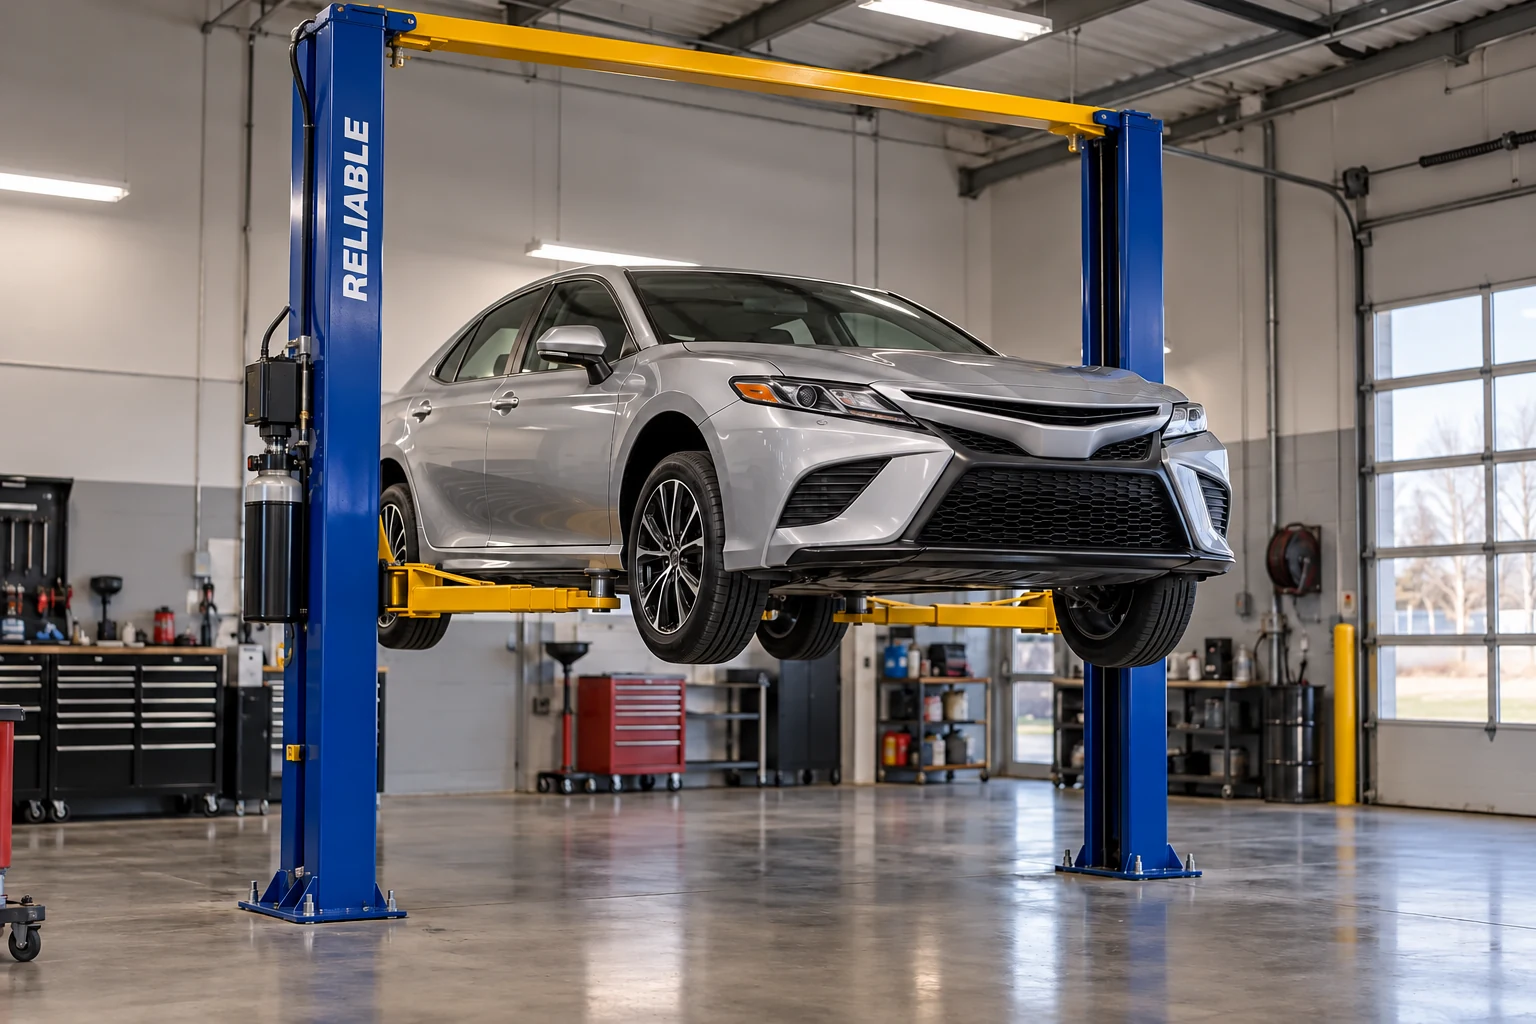
Space & slope
Will it fit?
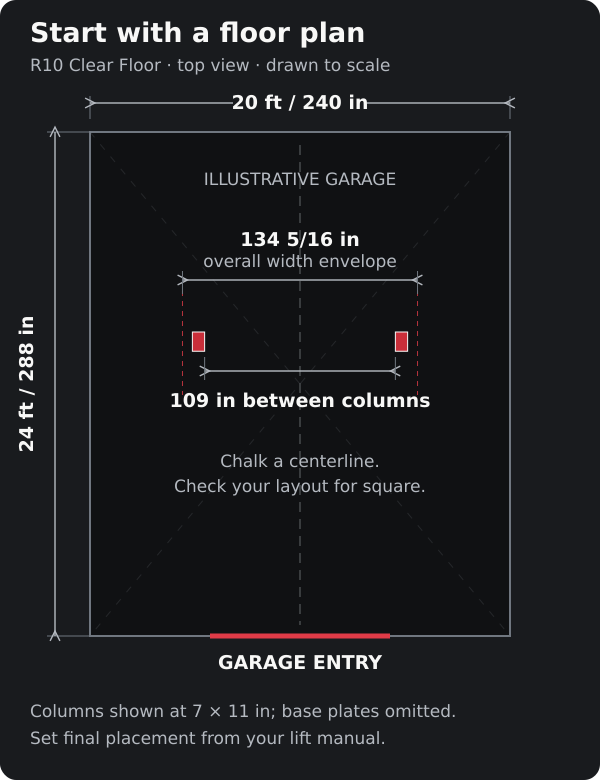
Measure your floor space and ceiling height. Leave room to drive in, open the doors and walk around the vehicle. Check garage-door tracks, openers, lights and heaters above the lift. For stacked parking, allow space for both vehicles.
Try it on the floor first: Mark the lift’s footprint with tape or chalk. Check the post spacing and diagonal measurements, then park your vehicle in position before drilling.
Try the Garage & Lift Planner ↗ · Compare model dimensions ↗
What if my garage floor slopes?
Start with a floor as close to level as possible. The installer must level the lift within its allowed shim limits.
Use the slope chart below for the common model groups. A limit of less than 3° is about 5/8 inch of fall per foot. It does not mean the lift can be left tilted.
Our recommendation: On sloping floors, anchor four-post lifts after proper leveling. Bolts do not make an unsuitable floor suitable.
| Reliable model | Floor slope guidance | Leveling & anchoring |
|---|---|---|
| R10 Baseplate / Clear Floor and 4P8 range | Less than 3° | Two-post: always anchor. Four-post: our recommendation is to anchor on a sloping floor after proper leveling. |
| 4P9S / 4P9XLT | Over 3°: review and correct the floor | Anchoring required above 1/8 inch per foot of fall; level within the manual’s shim limits. |
| Other models | Check model manual | Two-post: always anchor. For four-post lifts on sloping floors, we recommend anchoring after proper leveling. |
Concrete & anchoring
Do I need new concrete?
Not necessarily. Your existing floor may already meet the requirements.
The quick-reference chart groups models with similar requirements. Most common setups call for 4- or 6-inch reinforced concrete. Check the requirements for the lift you choose.
| Reliable model | Minimum thickness | Strength | Good to know |
|---|---|---|---|
| R9 range | 4 in | 3,500 PSI | Reinforced concrete |
| R10 range | 6 in* | 3,500 PSI | 4 in allowed when vehicles are always under 9,000 lb |
| R12 / R14 range | 6 in | 3,500 PSI | Check the chosen model’s foundation instructions |
| 4P8 range | 4 in | 3,500 PSI | Reinforced concrete |
| 4P9S / 4P9XLT | 4 in | 3,000 PSI minimum | Reinforced concrete |
| R20 / other four-post models | Model-specific | See manual | Use that model’s foundation requirements |
For R10 Baseplate and R10 Clear Floor, keep at least 6 inches from slab edges and cracks at least 2 feet from the posts. Have nearby joints, drains and openings checked when choosing the location.
Pouring pads or footings
If the rest of your floor is suitable, you may be able to improve just the areas beneath the posts instead of replacing the whole floor.
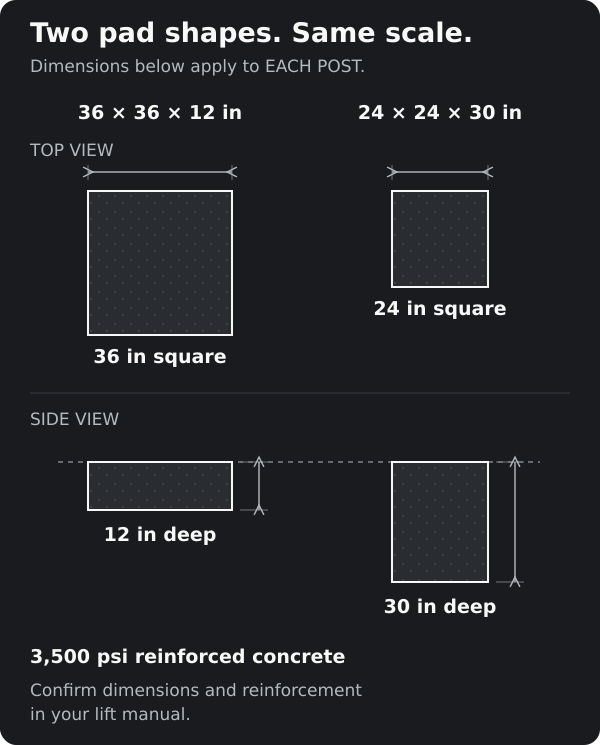
For R10 Baseplate and R10 Clear Floor, the listed footing options are 36 × 36 inches, 12 inches deep, or 24 × 24 inches, 30 inches deep, beneath each post. Use reinforced 3,500 PSI concrete.
These are reference sizes. Confirm the actual pad dimensions, reinforcement and connection to the existing floor in your lift manual before pouring. A concrete contractor can help plan the work.
New concrete needs time: Plan on at least 28 days before anchoring these models. The wait starts when the concrete is poured, not when the lift is installed.
Does it need to be bolted down?
Two-post lifts
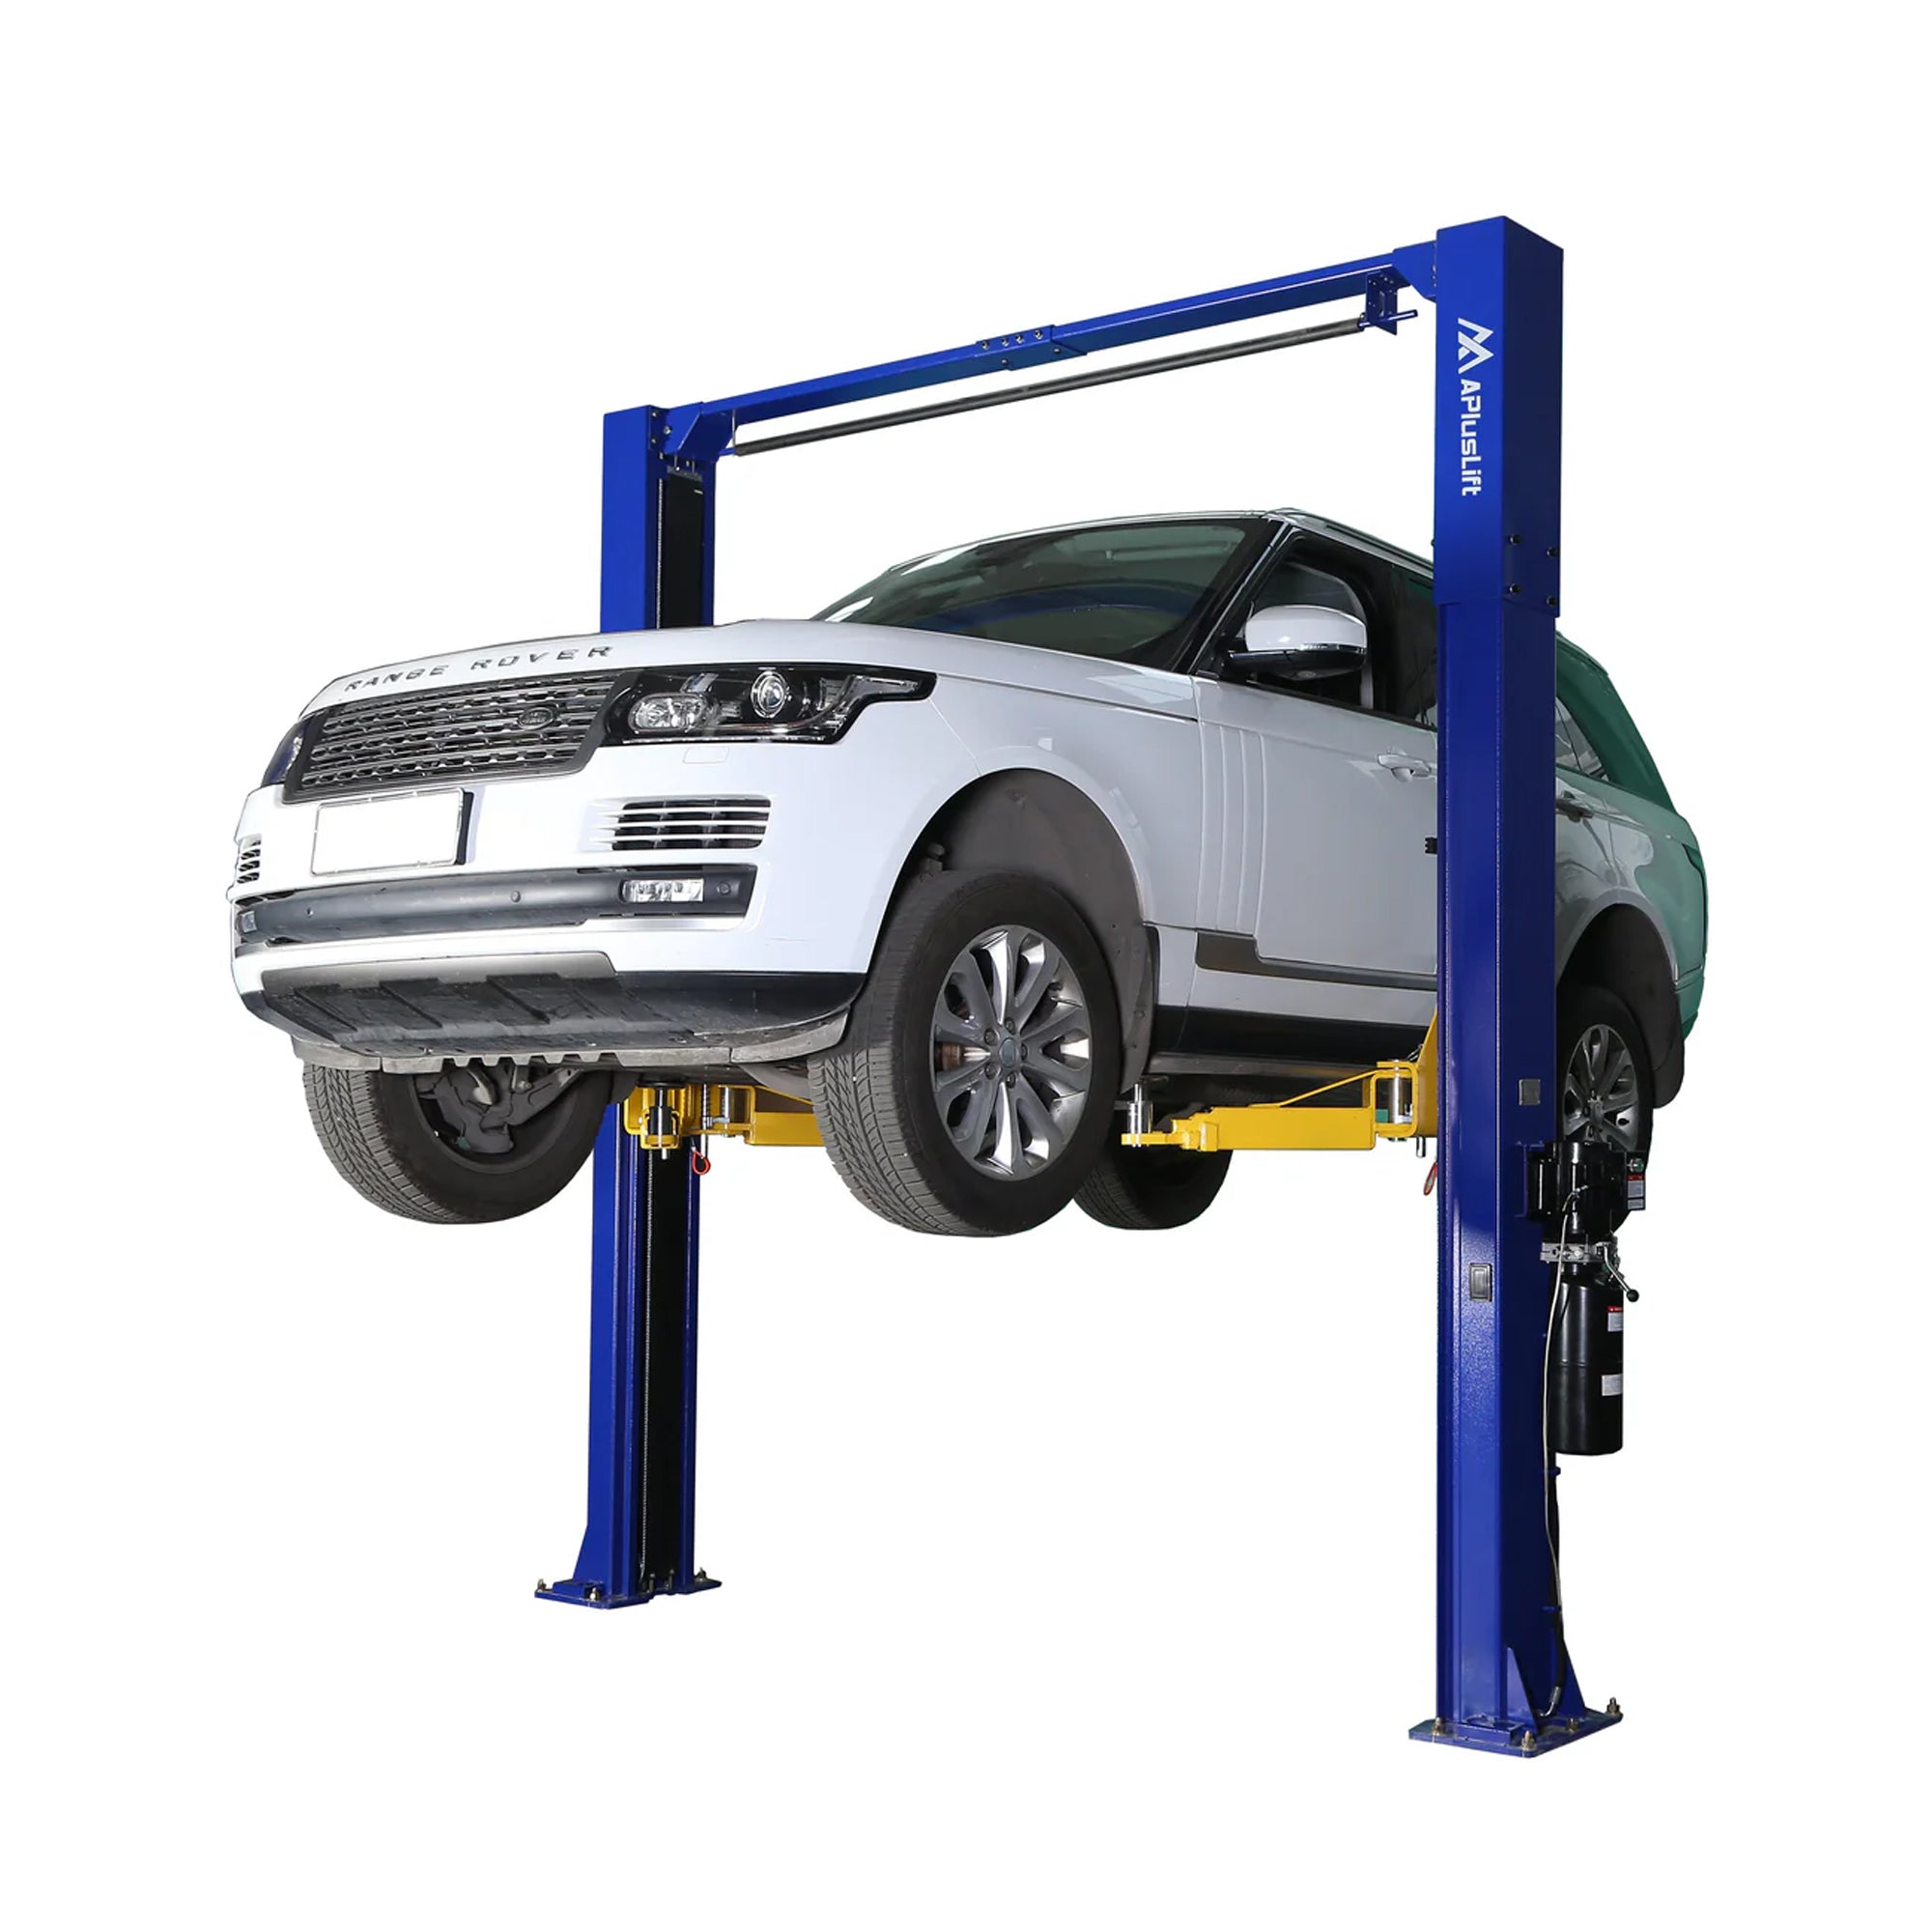
Two-post lifts do. Correct anchors, clean drilled holes, proper leveling and the specified tightening torque are all part of the installation.
Four-post lifts
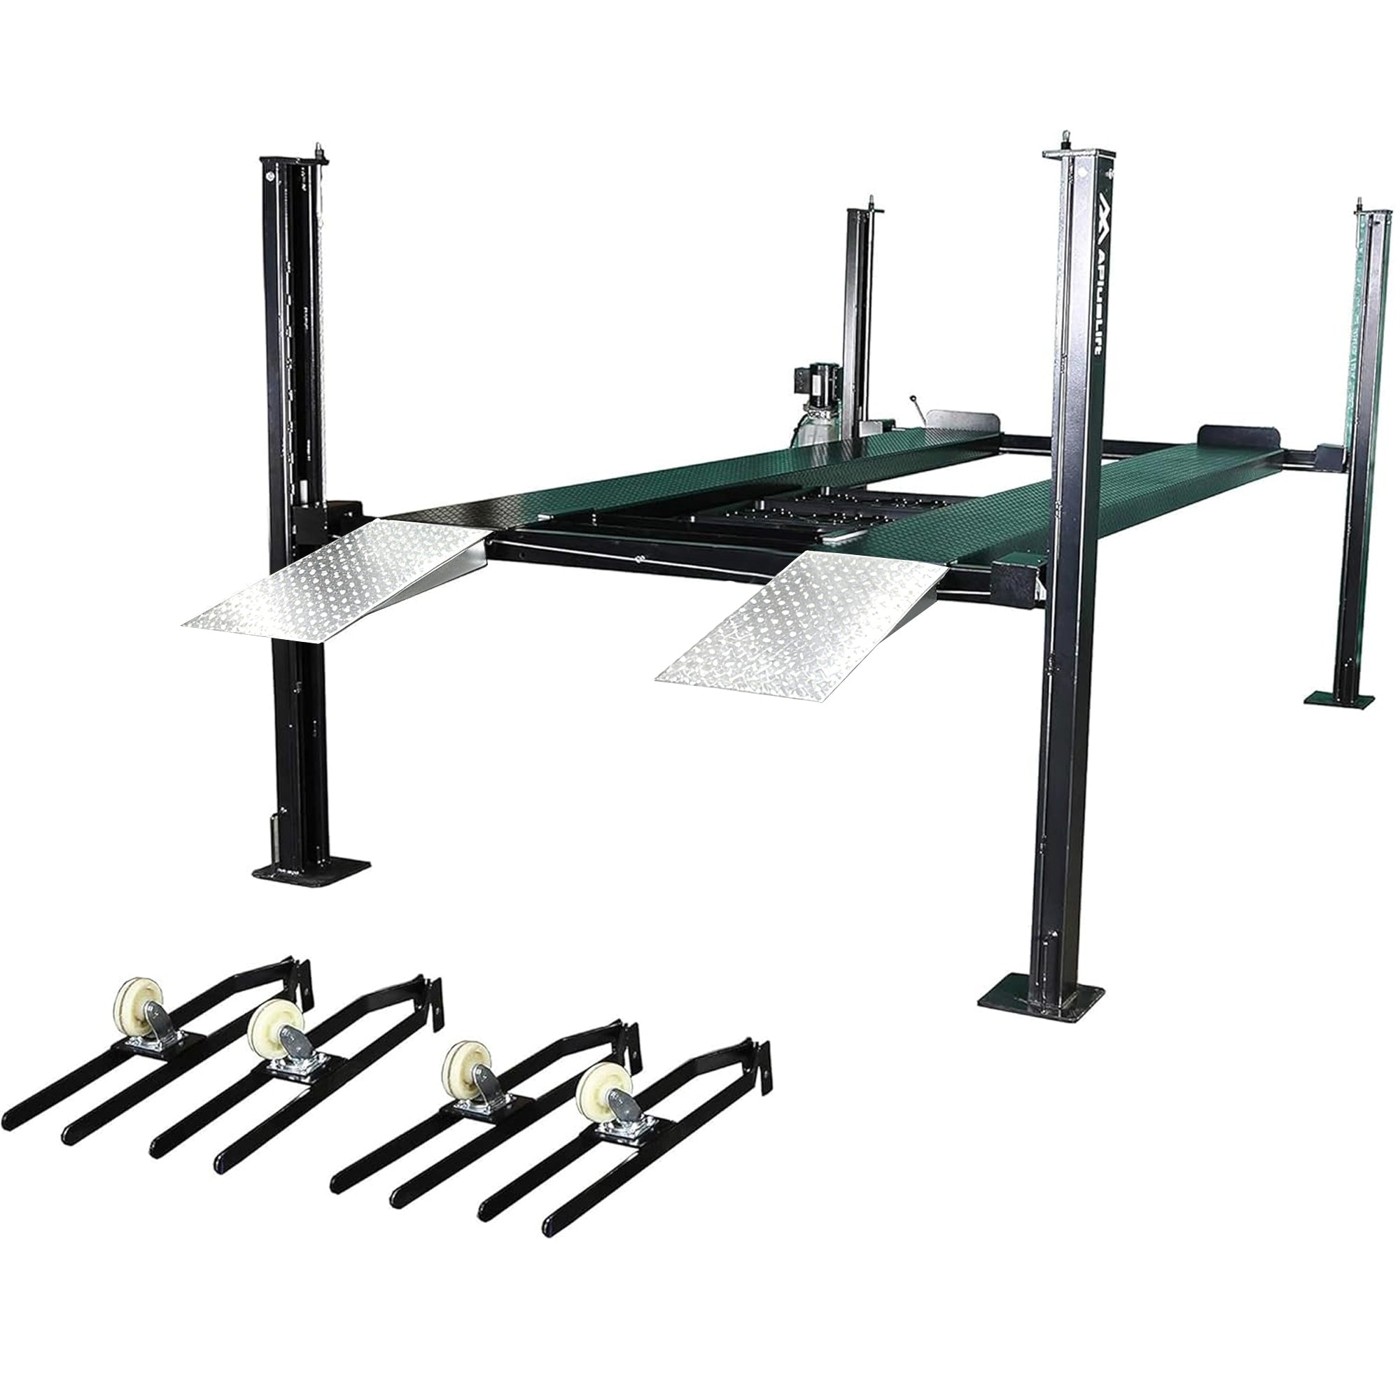
Portable four-post lifts can remain freestanding when the model and floor conditions allow. This keeps relocation easier. Anchoring helps keep a permanent setup from shifting.
Before drilling or cutting, identify any in-floor heating, pipes or post-tension cables.
Electrical
Here’s the quick power rundown. Similar models are grouped together.
| Reliable model | Voltage | Starting current¹ | Running current | Cord length |
|---|---|---|---|---|
| Two-post range | 220–240V | About 20A¹ | About 10A* | Installer supplied |
| R14 Asymmetrical | 220–240V | About 20A¹ | 13.6A | Installer supplied |
| 4P8 range / 4P10S | 110–120V | About 20A¹ | 10A | 10 ft included |
| 4P9S / 4P9XLT | 110–120V | About 20A¹ | 10A | 8 ft included |
| 4P9D Double Parking | 110–120V | About 20A¹ | 10A | 6 ft included |
| 4P11S / 4P11A | 220–240V | About 20A¹ | 10A | Installer supplied |
¹ Starting current is approximate and varies with conditions. *Typical running demand; check your motor’s label for the exact figure. These models recommend a 20A circuit. Your electrician can confirm the hookup.
What power does a two-post lift need?
Our two-post range uses 220–240V, single-phase power, with a 20A circuit recommended. Typical running demand is about 10A; the chart notes model exceptions. A plug is not included, so plan the connection before installation.
Running power overhead keeps cords off the floor. Confirm electrical cords stay clear of the garage door and other potential hazards. Always have electrical work done by a licensed electrician.
For the drop length, measure from the ceiling connection to the pump connection, allowing for service access. Use the planning tool below for a starting estimate; your electrician can confirm the final wire size and connection.
Prefer a plug-in setup? An approved cord and matching plug/receptacle make disconnecting easier. A suitable dryer-, range- or workshop-style outlet may also serve compatible tools. Have your electrician check grounding and circuit protection first—an older three-prong dryer outlet is not a straight swap.
Two-post power planning
Map your wire route
For R9 and R10 Baseplate / Clear Floor models. Enter distances in feet for an overhead supply route.
What about four-post power?
Our four-post storage options use true 110V pumps—about 20A at startup and 10A while running. They work with most standard grounded home and garage outlets on a suitable 20A circuit. The 4P11 models use 220–240V, as shown in the chart.
110V should mean a simple hookup. Many competing 110V lift models call for a 30A circuit, which is different from the usual 15–20A home or garage circuit. That can mean hiring an electrician to install new wiring, a different outlet and a new breaker. Our 110V four-post options don’t require that 30A setup.
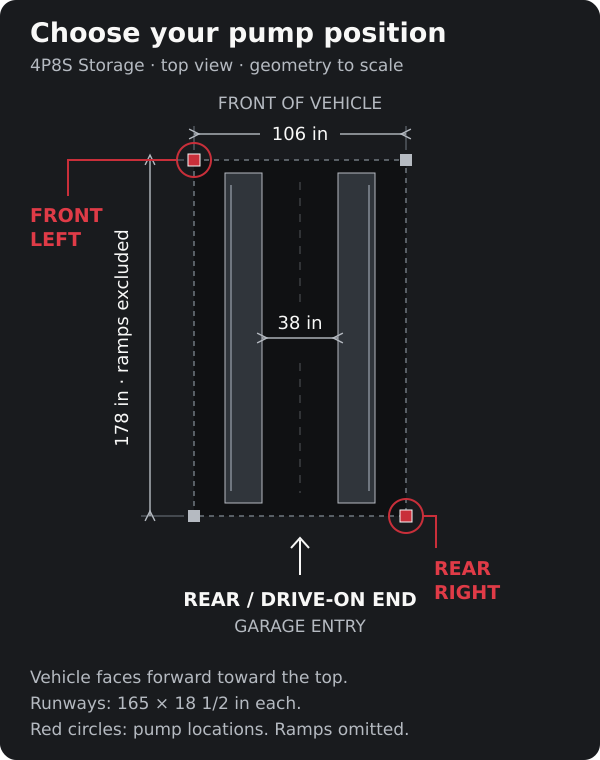
The pump can go at the front left (driver’s side) or rear right (passenger’s side). Front and rear refer to a vehicle parked facing forward on the lift. Choose the position closest to a suitable outlet, with easy access to the controls.
Choose the right cord
Grounded, all-copper extension cords for these 10A motors:
| Cord length | Our recommendation |
|---|---|
| Up to 25 ft | 14/3 · 14 AWG |
| Over 25–50 ft | 12/3 · 12 AWG |
| Over 50–100 ft | 10/3 · 10 AWG |
Heavier wire is fine—a smaller AWG number means thicker wire. Choose a cord rated for at least the motor’s current.
Keep the cord as short as practical, fully uncoil it and keep it out of driving paths. Use a cord rated for at least the motor’s current. These sizes allow extra margin for distance; they do not guarantee starting performance on a weak or overloaded circuit. Beyond 100 feet, plan a closer outlet.
Installation & fluid
What should be ready on installation day?
- A clear installation area and access into the garage.
- Suitable unloading and handling equipment.
- Electrical supply ready to connect.
- Any new concrete through its required cure.
- A 5-gallon bucket of AW32 hydraulic fluid, available at most auto-parts stores.
Hydraulic fluid: Plan on approximately 4 gallons. We recommend buying a 5-gallon bucket of AW32 so you have enough for filling and later top-ups. Fill to the specified reservoir level rather than pouring in the whole bucket.
The installer should complete the setup checks and test the lift before the first vehicle goes up.
Useful guides
Useful guides
Need help planning your setup? Contact Reliable Lifts with your garage measurements and the lift you’re considering. We’ll help you work through the basics before you buy.
Browse Reliable models ↗ · Find manuals on your model page ↗